I was looking for a craft that was easy, cheap, and practical and here we have it! The necklace hanging frame! I was looking on DIY websites and also found some ideas from
Lauren Conrad's Website about how to fix the endless problem of tangled and lost necklaces.
First: the inspiration:
From pottery barn (and LCs webpage)

a frame with a corkboard nailed to the back

an old rake (how cool!)
Next: the doing
 |
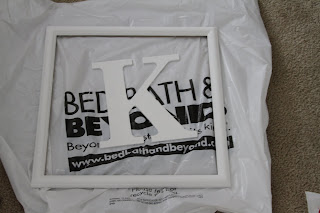
| 1. Find a frame the right size. I found this at a thrift store for $1. It's 18" x 18". Pull off the backing and picture and any nails/staples that may be in it. |
 |
| 2. Then I washed it. It was actually pretty gross so a little bath was just what it needed. |
 |
| 3. Then I painted it white (disregard the K, it's for a different project!) and added a few silver brushstrokes for a little interest - I was going to sand down a few parts to distress it a little but I didn't have sandpaper and was too lazy to get it! |
 |
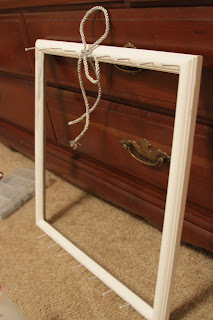
| 4. I gave the underside and back a layer of silver paint for the finishing touch. Not that you'll ever see the back, but it does make the whole thing feel finished, and you can see the little lip at some angles. |
 |
| 5. Then I added nails on the top and bottom. I started at the center then worked my way out at 2" intervals. I put one on the ends on the top but not on the bottom so I could hang the longest necklaces at the end and not get them caught on a bottom nail. |
 |
| 6. All nailed up! |
 |
7. Then I hung a command hook on the wall (the frame had hanging hardware so it made sense) and put a few necklaces on it!
|
 |
8. Here's the finished look! In real life it has a lot more necklaces on it. you can see the silver touches i added more in this picture. i hung it over my bookcase and it is really an interesting but functional piece in my room.
Overall this project cost me about $5: $1 frame, $2 white paint, $1 silver paint, $1 foam brush. How fabulous?? You can use a more ornate frame for a vintage look, or smaller frame and make a collage of sorts with one for necklaces and one for bracelets.
Happy designing! Tootles! |
 a frame with a corkboard nailed to the back
 an old rake (how cool!)


this turned out great! i love it! put this on pinterest!
ReplyDelete